Diamond Painting for Beginners: Crafting Your Sparkling Journey
Crafting has long been a beloved pastime, offering a creative outlet and a means of relaxation in our busy lives. Among the myriad of crafts, one has been gaining momentum for its therapeutic benefits and beautiful outcomes – diamond art. If you’re just starting out on your diamond painting adventures, this guide is a glittering pathway to mastering the craft.
The Sparkle of Diamond Art
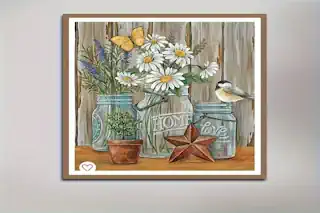
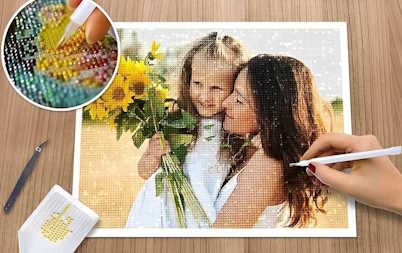
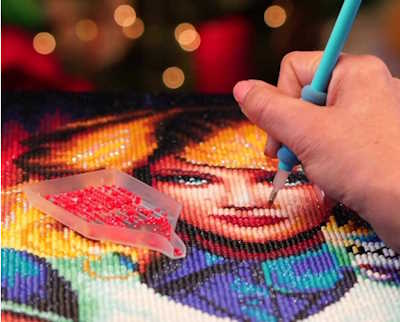
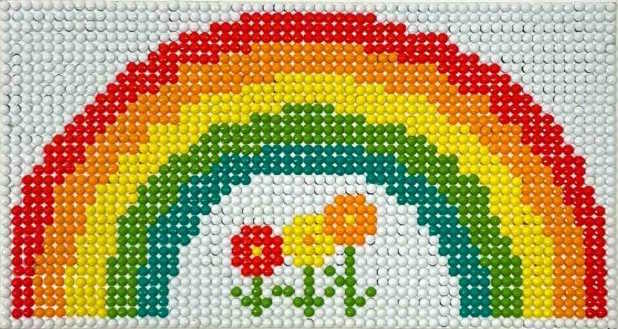
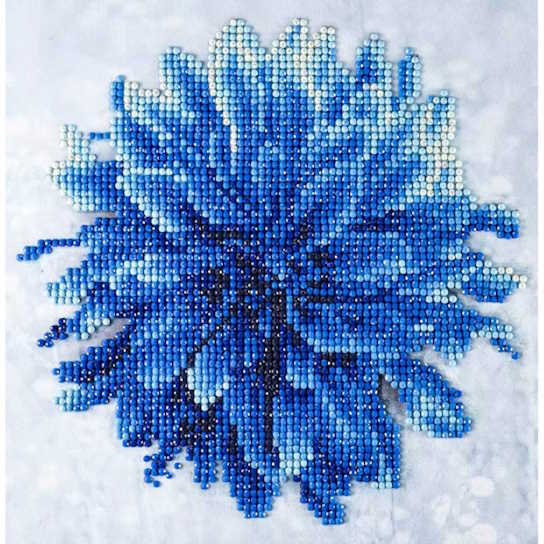
Diamond art, also known as diamond painting, blends aspects of cross-stitch and paint-by-numbers, elevating them with the sparkle of tiny, resin “diamonds” that are placed on an adhesive canvas. The end result is a stunning, mosaic-like image that shimmers in the light, and the process itself provides a mosaic of benefits – from stress relief to a sense of accomplishment.
Craft enthusiasts have been captivated by diamond art as it offers a satisfying combination of structure and creativity. For those who are new to this craft, the prospect of creating a dazzling piece of art can be both exciting and a little daunting. But fear not! This post is tailored to guide beginners through the mesmerizing world of diamond art.
Getting Started with Diamond Art
For beginners, selecting the right diamond painting kit is crucial. Look for kits labeled “for beginners,” which often feature larger canvases and simpler designs. The tools you’ll need are usually included in these starter kits, but it’s good to familiarize yourself with the basic setup:
Canvas: The canvas is a fabric sheet with adhesive that holds the diamonds in place.
Diamonds: Tiny, facetted resin beads that resemble diamonds.
Applicator Pen: A tool with a wax tip that picks up the diamonds for placement.
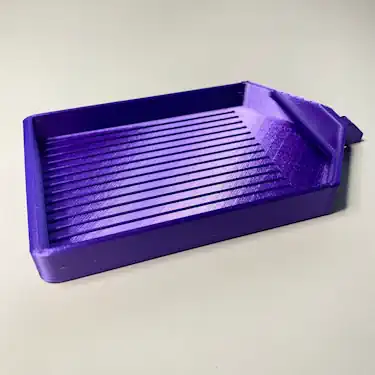
Tray: Used to organize diamonds for easy access.
Wax: Used to coat the applicator pen, making it easier to pick up the diamonds.
Canvas: The Foundation of Your Masterpiece
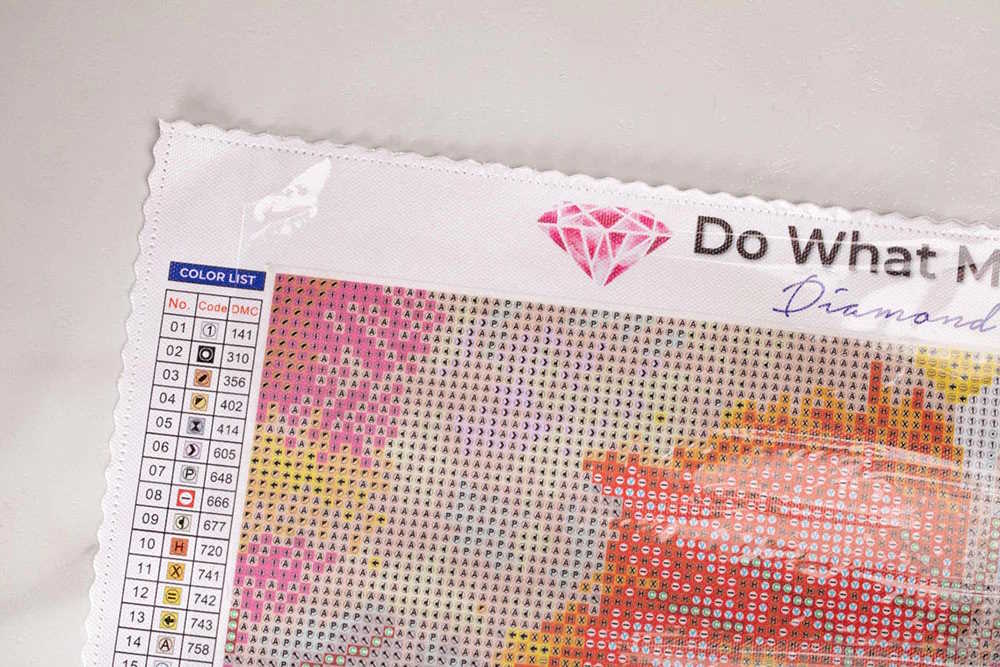
The canvas is indispensable in diamond art, acting as the map for your sparkling creation. Pre-printed with symbols and color codes, it ensures every tiny diamond finds its rightful place. The adhesive surface securely holds the diamonds, so your artwork remains intact. For novices, starting with a canvas featuring a simple design can build confidence and provide a gentle introduction to this craft’s nuances.
Diamonds: The Stars of the Show
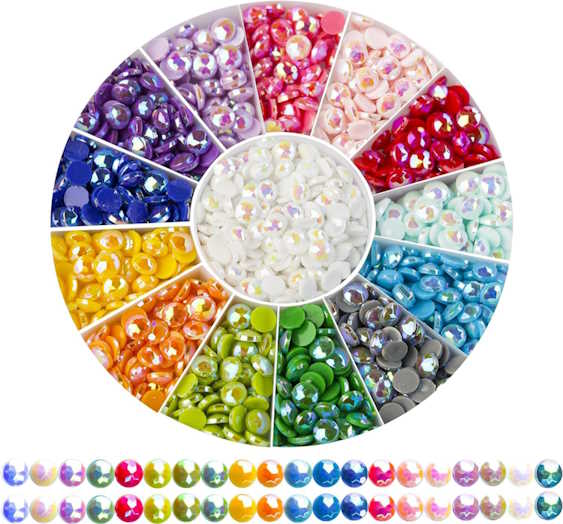
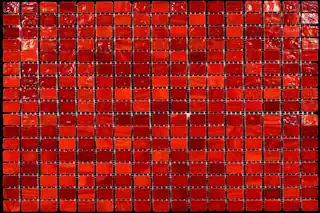
These small, sparkly resin beads are what bring the diamond painting to life. Available in a myriad of colors, they mimic the appearance of real diamonds, adding depth and brilliance to the artwork. There are square diamonds, round diamonds and in some of the diamonds are uniquely shaped. Handling and placing these beads precisely is a meticulous but meditative process, contributing significantly to the craft’s therapeutic qualities.
Applicator Pen: Your Precision Tool
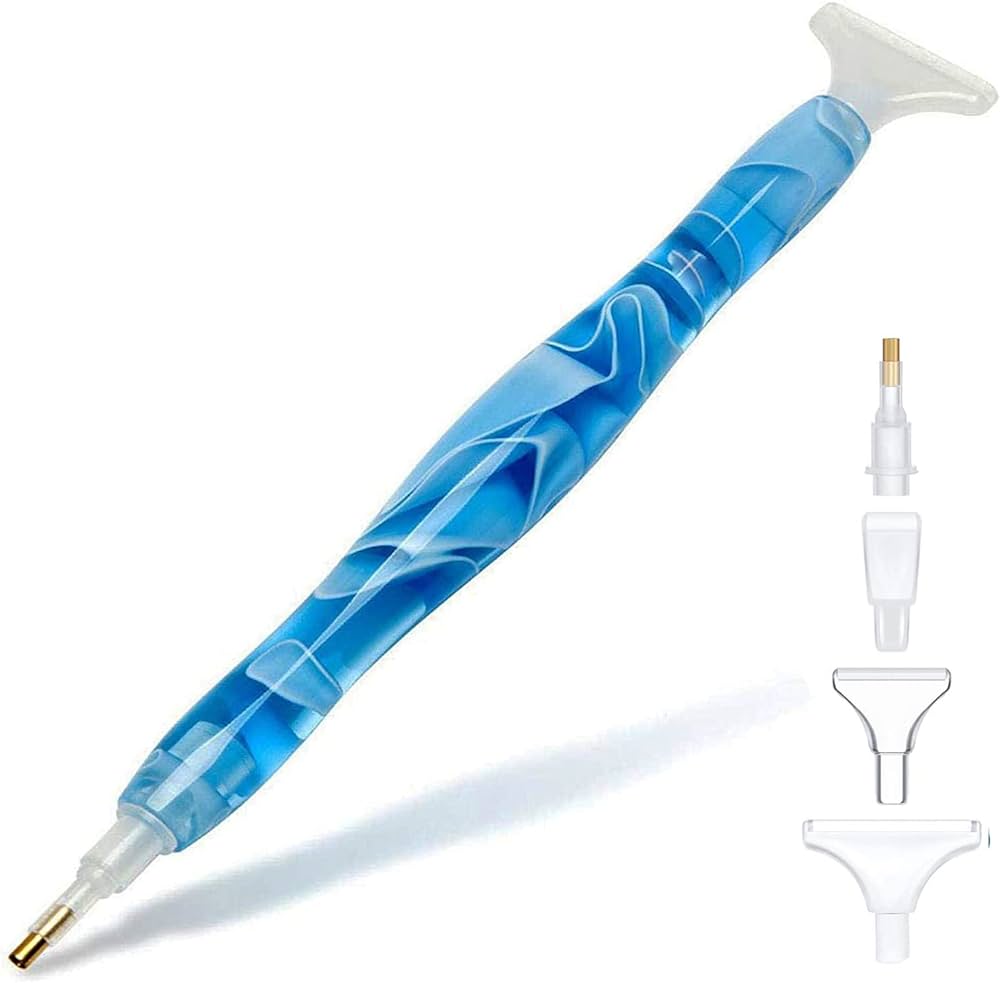
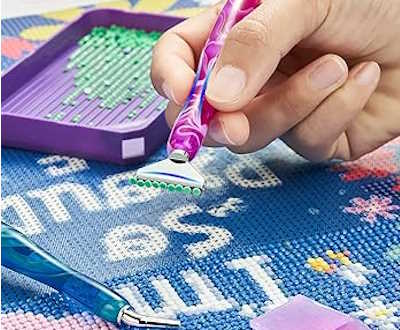
Applicator Pen
Think of the applicator pen as your magic wand, enabling you to pick up and place each diamond with precision. The pen’s wax tip sticks to the diamonds, allowing for easy transfer from the tray to the canvas. Mastering the use of the applicator pen is a key skill in diamond art, combining the right amount of pressure and accuracy.
Invest in a good quality applicator pen and keep a few extras at hand, as they tend to wear out with frequent use. A multi-diamond tool, which has a wide end can pick up multiple diamonds at once. This is also a helpful addition as you advance.
Tray: Keeping Things Organized
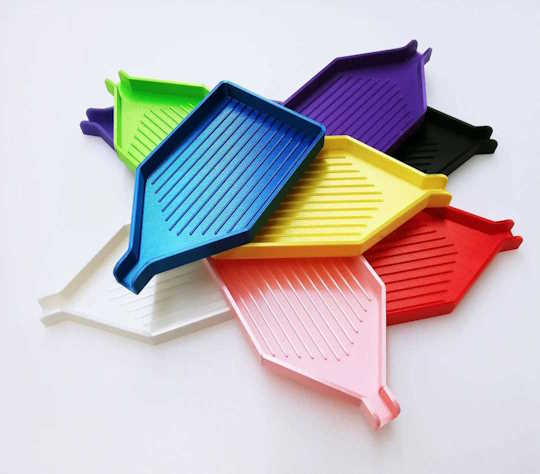
The tray is more than just a holding area for your diamonds; it’s integral to efficient crafting. By shaking the tray slightly, the diamonds settle with their flat sides down, making it easier to pick them up with the applicator pen. This simple but clever tool is a big time-saver and reduces the frustration of managing those tiny beads.
Wax: The Unsung Hero

Though it might seem insignificant at first, the wax is crucial for picking up the diamonds. A small dab on the tip of your applicator pen acts as a temporary adhesive, making the process smoother and more enjoyable. The wax is a simple yet essential element in the diamond art toolkit, ensuring each diamond adheres to the pen long enough to be placed accurately on the canvas.
Choosing the Right Kit
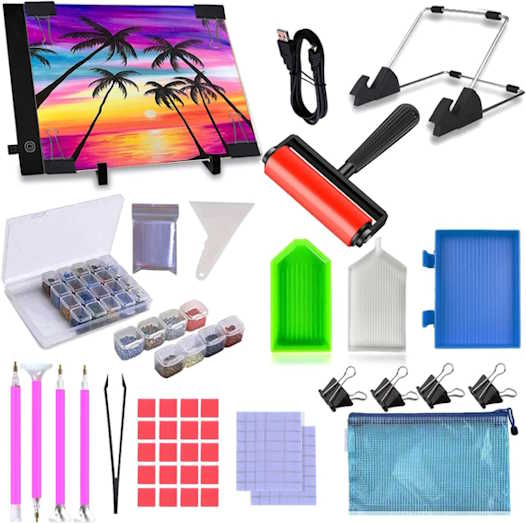
When picking a kit, consider the size of the canvas and the complexity of the design. Larger canvases can accommodate more intricate patterns and often lead to more detailed finished pieces. Complexity varies from simple designs with uniform color areas to more complex ones with color changes.
Many pieces will come in a kit that will include the canvas, gems, tray and applicator pen. As you progress you will find some of the other tools will be very beneficial to add to you kit. Light boards, portable flat surface for your lap, rollers, organizers, different applicator pens, wax, magnifying glass, and tweezers. Just to name a few.
Setting Up Your Workspace
Select a well-lit area with a comfortable chair, and ensure your work space has a clean flat surface. It’s also wise to have a container for your diamonds, especially if you’re working with a larger painting with many colors. This can keep your workspace organized and your diamonds from being misplaced or mixed up.
Diamond Painting Tips and Techniques for Beginners
The heart of diamond art lies in the technique of placing and aligning your diamonds. Perfecting this process will ensure a smooth and enjoyable experience, so here are some tips to get you started:
Hold the applicator pen like a pencil for better control, and gently press the tip to the diamond to pick it up.
When placing the diamond on the canvas, use a straight up-and-down motion to seat it firmly onto the adhesive.
Work in an organized manner, completing one color at a time. This will help speed up the process and minimize mistakes. Trying to complete the whole picture at one sitting can be overwhelming.
If the colors are spread out all over the canvas, consider starting in a corner and slowly working up through the rest of the painting.
Some canvas’s have a peel and stick or static cling cover sheet. It is best to leave this plastic film covering everything except where you are working. This makes putting the cover back on very easy.
Don’t let dirt, food, fluids or other substances come in contact with the adhesive on the canvas. Once the adhesive loses its stickiness, completing the piece is very difficult. A baby wipe can be immensely helpful when things get dirty.
Set aside periods of time, 20 to 40 minutes, to work on your project. This will help keep you focused but also give you breaks so the project stays fresh and exciting. Stopping to gently shake you wrist and arm will also help avoid fatigue.
Music can also make the project much more enjoyable. Video, on-the-other-hand, can distract you from you efforts and is often to frustrating in the beginning.
Dealing with Intricate Patterns
For designs with tiny or closely spaced areas, you might find it helpful to work under a magnifying lamp. This can prevent eye strain and help you accurately place the diamonds in the right spots.
Precision and Speed
With practice, you’ll notice an improvement in the speed and precision of your diamond placement. The key is to be patient and not rush. Remember, the finished piece is a reflection of the care and effort you put into it.
Benefits of Diamond Art for Beginners
Beyond the joy of creating a beautiful piece of art, diamond painting offers a variety of benefits.
Stress Relief and Relaxation
The repetitive and meditative nature of diamond painting can ease stress and calm the mind. It’s a wonderful way to unwind after a long day and immerse yourself in a tranquil and focused state.
Enhancing Creativity and Focus
Though the colors and placements may be predetermined, there is still room for personal expression. Changing up the color schemes or adding your touch to a design can be a creative challenge. Diamond art also enhances your ability to focus on a single task, which can be beneficial in our age of distractions.
Social and Community Aspects
Diamond art is not limited to solitary pursuits. It can be a social activity, shared with friends or family members. Additionally, there are thriving online communities where hobbyists share their work, tips, and support, creating a sense of belonging and shared passion.
Crafting Your First Masterpiece
As you venture into the world of diamond art, keep in mind that every diamond painting is a personal creation that reflects your unique touch. With each completed project, you’ll gain experience and confidence, and your skills will shine brighter.
Encouraging the Journey
Now is the perfect time to order your first diamond painting kit and discover the joys of this artisanal hobby. Remember, every expert was once a beginner. Trust the process, enjoy the sparkle, and watch as your creations come to life one “diamond” at a time.
Sharing Your Shimmering Creations
As you complete your projects, don’t hesitate to share your sparkling artwork on social media or with the diamond art community. Seeing the joy and inspiration that your work can bring to others is a reward that sparkles as bright as the gems you’ve placed. Join the global movement of diamond art and inspire others to start their own shimmering journeys.
Engage with other enthusiasts, learn from the vast pool of diamantaires, and continue honing your craft. After all, creating art is not just about the outcome; it’s about the experiences and the process that lead you there. Happy diamond painting, beginners, and may your new craft shine brightly with every masterpiece you create!
Frequently Asked Questions (FAQ)
What is diamond painting?
Diamond painting is a craft that involves placing tiny resin “diamonds” onto a sticky canvas to create colorful and sparkly art pieces. The process is similar to painting by numbers, but instead of paint, you use diamonds.
How long does it take to complete a diamond painting?
The time it takes to complete a diamond painting varies widely depending on the size of the canvas and the complexity of the design. Beginners could spend anywhere from a few hours on small, simple designs to several weeks or months on larger, more intricate ones.
Do I need any special skills to start diamond painting?
No special skills are required to start diamond painting. It is an easy-to-learn craft suitable for all ages. The key to diamond painting is patience and the ability to follow the canvas’s design.
Can diamond painting be done with children?
Absolutely! Diamond painting can be a fun and engaging activity for children, helping them develop fine motor skills and patience. However, due to the small parts, it is recommended for children over the age of 6 and always under adult supervision.
What should I do if I lose some of the diamonds?
Many diamond painting kits come with extra diamonds to account for potential losses. However, if you find yourself running short, try contacting the manufacturer for replacements or check online craft stores that sell diamond painting accessories.
Is it possible to frame my completed diamond painting?
Yes, framing your completed diamond painting is a great way to display and protect your work. Before framing, ensure the painting is fully secured to the canvas and consider using a sealant for extra protection. Frames can be purchased from craft stores or custom-made for unique sizes.
How do I prevent my diamond painting canvas from losing its stickiness?
Keep your working area clean and free from dust or debris. Cover the canvas with its protective film when not in use, and avoid touching the adhesive with your fingers. If a section becomes less sticky, a small amount of craft glue or a diamond painting adhesive can be used to restore its stickiness.
Can I customize my diamond painting kit?
While most diamond painting kits come with preset colors and designs, experienced diamond painters often customize their artwork, either by changing colors according to their preference or by creating their designs. Customization is a great way to make your diamond painting even more unique and personal.
