Chop Saws Basics: Step by Step Guide for DIY Beginners and Woodworkers
Introduction: What is a Chop Saw and its basic understandings?
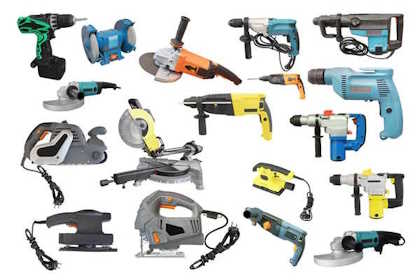
In this chop saws basics guide, we will be welcoming you with some crucial information about chop saw, the tool that every DIY beginner or woodworker should have access to as it helps to make accurate and smooth cuts easily. Whether you’re an expert woodworker or a DIY beginner, it pays to know all the basics, tips, and ease of usage of a chop saw as it will make your work easy and better.
What is a Chop Saw?
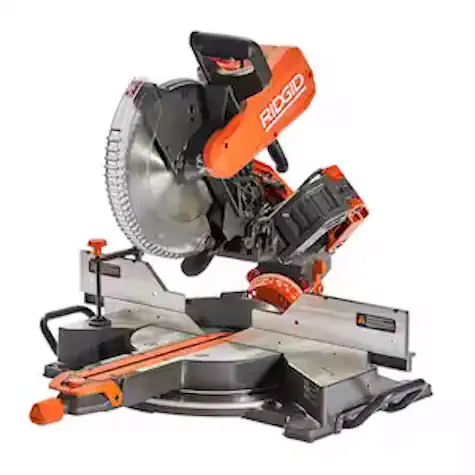
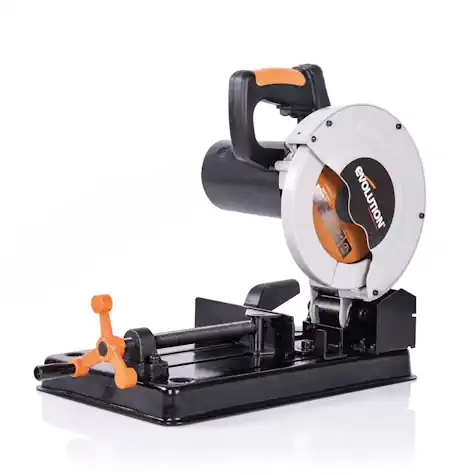
A chop saw, also known as a miter saw, is a powerful tool designed to make quick, accurate crosscuts in a workpiece. It’s commonly used in woodworking and carpentry for tasks such as cutting molding, trim, flooring and other materials. It looks very similar to a circular saw but being anchored to a base provides for much more precise cuts, especially at angles.
Types of Chop Saws or Miter Saws
Standard Chop Saw: Best for simple, straight cuts.
Compound Miter Saw: Allows for angled cuts by tilting the blade along two axes.
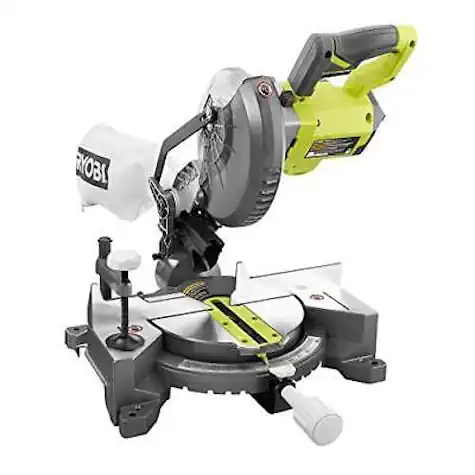
Sliding Compound Miter Saw: Combines the features of a compound saw with a sliding arm, enabling you to cut wider pieces of material.
Safety First: Essential Protective Gear and Precautions
Before diving into the setup and use, remember that safety is paramount:
Protective Gear: Always wear safety glasses, ear protection, and a dust mask.
Work Environment: Ensure your workspace is clean and free of obstructions.
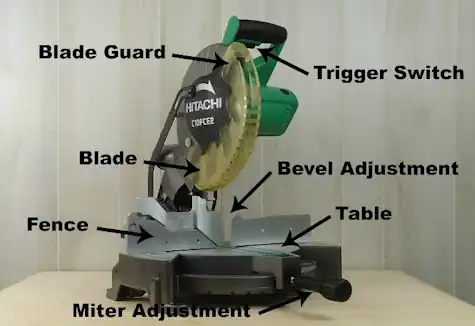
Saw Mechanisms: Familiarize yourself with the saw’s safety features, such as the blade guard and safety lock.
Step 1: Setting up Your Chop Saw
Choosing a Stable Work Surface
Your chop saw should be placed on a flat, stable surface to prevent any movement during use. A workbench or a sturdy table is ideal.
Adjusting the Saw for Your Cutting Needs
Angle Settings: Set the miter and bevel angles according to the cut you need.
Blade Depth: Adjust the blade depth to ensure it cuts through the material without excessive force.
Ensuring the Saw is Plugged into a Suitable Power Source
Make sure the power source matches the saw’s requirements. Avoid using extension cords if possible with power tools, as they can reduce the power delivered to the saw.
Step 2: Making Accurate Cuts Safely
Aligning Your Material with the Blade
Place the material firmly against the fence and align it with the blade. Use clamps if necessary to hold the material securely.
Using the Saw’s Safety Features
Blade Guard: Ensure the blade guard is in place and functioning correctly.
Safety Lock: Engage the safety lock when the saw is not in use to prevent accidental activation.
Applying Steady Pressure and Stance for Control
Stand firmly with your feet shoulder-width apart. Use a steady, controlled motion to bring the blade down onto the material. Avoid forcing the saw; let the blade do the work.
Step 3: Understanding Angled Cuts with a Compound Miter Saw
Adjusting the Angles for Beveled Cuts
Set the desired bevel angle by adjusting the saw head. Lock the angle in place to maintain precision during the cut.
Tips for Precision in Compound Cuts
Marking Your Material: Use a pencil to mark precise cut lines on your material.
Test Cuts: Make a test cut on a scrap piece of material to ensure your settings are correct.
Step 4: Maintaining Your Chop Saw for Longevity
Regular Cleaning and Dust Management
Dust and debris can affect the saw’s performance. Clean the saw regularly, especially after each use, to keep it running smoothly.
Blade Maintenance: Sharpening and Replacing
A sharp blade is crucial for clean cuts. Regularly check the blade for dullness and replace it as needed. Follow the manufacturer’s instructions for sharpening or replacing blades.
Lubrication and Adjustment of Moving Parts
Keep the moving parts of the saw well-lubricated to ensure smooth operation. Check and adjust any loose components regularly.
Conclusion: Mastering Your Chop Saw
Using a chop saw effectively involves understanding the tool, prioritizing safety, and maintaining it properly. By following these steps, you’ll be well on your way forward to mastering chop saw usage and enhancing your woodworking projects.
Frequently Asked Questions (FAQ)
What materials can I cut with a chop saw?
A chop saw is versatile and can cut through various materials, including wood, plastic, and some metals. Always ensure you are using the appropriate blade for the material you’re cutting.
How often should I replace the blade on my chop saw?
The frequency of blade replacement depends on how often you use your chop saw and the hardness of the materials you cut. A blade should be replaced if you notice it becoming dull, producing rough cuts, or if it takes more effort to cut through the material.
Can I use a chop saw to cut angles?
Yes, especially if you have a compound miter saw. These saws can adjust to various angles, allowing you to make precise, bevel cuts and miter cuts.
Do I need to wear protective gear while using a chop saw?
Absolutely! Safety glasses, ear protection, and a dust mask are essential to protect you from flying debris, loud noise, and dust.
How do I know which chop saw to buy as a beginner?
As a beginner, you might want to start with a standard chop saw for straight cuts. If you plan to do more complex work, a compound miter saw or a sliding compound miter saw offers more versatility. Consider your project’s needs and your budget when making a choice.
What should I do if my chop saw stops working suddenly?
First, unplug the saw and check for any obvious issues like a tripped circuit breaker, a loose power connection, or a jammed blade. Consult the user manual for troubleshooting tips and, if necessary, contact the manufacturer for support.
How can I make sure my cuts are accurate?
Accurate cuts can be achieved by marking your material carefully, aligning it properly with the blade, and making test cuts on scrap pieces. Take your time to ensure all settings are correctly adjusted before making the final cut.